How to Check Your Camera on Mac (5 Quick Methods)
Want to check camera on Mac before a call, after a macOS update or because the picture looks off? It takes under a minute, and these five methods work for MacBook, iMac and external webcams.
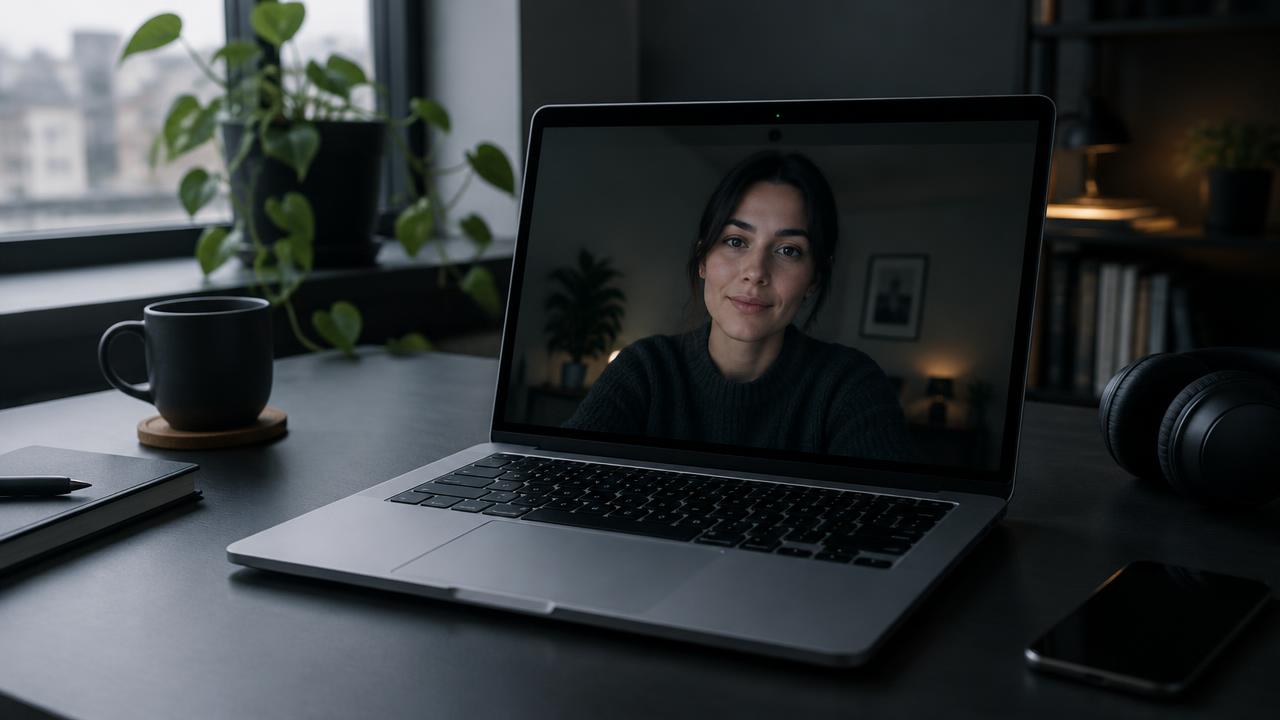
How to tell if your Mac camera is on
Every MacBook, iMac and Studio Display with a built-in camera has a small green light right next to the lens. When any app starts using the camera, the light turns on. When the app stops, the light goes off. If you open a video app and the light comes on, macOS has successfully started the camera, even if the picture itself looks wrong.
On macOS Monterey and newer, you get a second signal. A small green camera icon appears at the top of the screen in the menu bar, and Control Center shows the name of the app that is using the camera. That makes it easy to spot an app you forgot was still open in the background.
There is also a privacy reassurance here. Apple designs the indicator so the camera cannot run without the light turning on. If the green light is off, the built-in camera is not recording. External USB webcams have their own lights, and their behaviour depends on the manufacturer.
Method 1: check your camera on Mac online in your browser
The quickest way to check camera on Mac is a browser test. Nothing needs to be installed, and the browser asks for the camera in the same way Google Meet, Zoom on the web or an online interview platform does. If the camera works here, it will usually work in a video call too.
- Open the Camera-Test.com homepage in Safari, Chrome, Firefox or Edge.
- Click the button to start the camera test.
- When the browser asks for permission, choose Allow.
- If you have more than one camera, pick the one you want to test.
- Watch the live preview and let the results settle for a few seconds.
In Safari, the permission prompt appears below the address bar; choose Allow. If you blocked it earlier, open Safari > Settings > Websites > Camera and set the site to Allow. In Chrome, click the tune or camera icon in the address bar and switch Camera on, then reload. In Firefox, click the camera icon next to the address and remove the block.
The results show more than a picture. You will see the effective resolution, which is the number of pixels your Mac is actually sending, and the frame rate, which tells you how smooth the video is. A built-in MacBook camera typically delivers 720p or 1080p at around 30 frames per second. The video is processed locally in your browser and is never uploaded or recorded.
Method 2: use Photo Booth
Photo Booth is the Mac's built-in camera app and the simplest offline check. Open Finder, go to Applications and double-click Photo Booth, or press Command + Space and type Photo Booth. The green light should turn on and a live mirror image should fill the window within a second or two.
A working preview responds instantly when you move your hand and shows natural colours. If the window stays black or shows a camera icon with a line through it, macOS cannot reach the camera, and you should jump to the permissions and quick-fix sections below.
To check detail, click the red shutter button to take a test photo, then open it from the strip at the bottom. Look at fine texture such as hair or text in the background. Switch to video mode with the icon at the lower left and record a short clip while you talk. Playing it back reveals stutter and lets you hear the microphone. If you use an external webcam, choose it from the Camera menu at the top of the screen.
Method 3: use FaceTime
FaceTime is a good test because it uses the camera exactly the way a real video call does. Open FaceTime from Applications, the Dock or Spotlight. You do not need to call anyone; the app shows a live preview of yourself as soon as it opens, provided you are signed in.
If the preview works in FaceTime but not in another calling app, the camera and macOS are fine and the problem is that app's permission or settings. This makes FaceTime a useful way to separate a hardware fault from a software one.
With an external webcam or an iPhone connected, open the Video menu in the menu bar while FaceTime is active. Every camera macOS can see is listed there. Select each one in turn to confirm it works. If an external camera is missing from this list, macOS does not detect it, which points to the cable, port or hub rather than the app.
Method 4: use QuickTime Player
QuickTime Player lets you test the camera and microphone together in a real recording. Open QuickTime Player from Applications, then choose File > New Movie Recording. A preview window opens with a record button in the middle.
Click the small arrow next to the record button. A dropdown lists every available camera and microphone, along with quality options. Choose the camera you want to check, choose the microphone you plan to use for calls, and select High or Maximum quality.
Record a clip of about fifteen seconds. Move your head, wave a hand and speak at a normal volume. Then stop and play it back. Watch for blur during motion, sudden changes in brightness and dropped frames, and listen for echo, hiss or a voice that sounds far away. Because QuickTime saves a file, you can also compare clips taken with different lighting or with different cameras side by side.
Method 5: check the camera in System Information
If no app can see the camera, check whether macOS detects it at all. Hold the Option key, click the Apple menu and choose System Information. On newer macOS versions you can also open the Apple menu, choose About This Mac, then click More Info and System Report.
In the sidebar, under Hardware, select Camera. A working built-in camera appears with a name such as FaceTime HD Camera, along with a model ID and unique ID. Connected external webcams are listed here too.
If the Camera section is empty, macOS cannot see any camera. For a built-in camera, that usually means a system-level fault, so restart the Mac and install pending updates. For an external webcam, check the cable and port, then look under USB in the same window to see whether the device appears there at all.
Check camera permissions on Mac
macOS asks before any app can use the camera. If you clicked Don't Allow once, that app will show a black screen until you change the setting. On macOS Ventura and newer, open the Apple menu > System Settings > Privacy & Security > Camera. On older versions, open System Preferences > Security & Privacy > Privacy tab, then select Camera in the list.
You will see every app that has requested camera access, each with a switch or checkbox. Turn access on for Zoom, Microsoft Teams, your browser, Slack or whatever app you use. Many apps must be quit and reopened before the change takes effect. If an app is missing from the list, it has never asked for the camera; open it and start a video call to trigger the prompt.
Per-site camera access in your browser
Browsers keep their own list of websites. In Safari, go to Safari > Settings > Websites > Camera and set each site to Ask, Allow or Deny. In Chrome, open Settings > Privacy and security > Site settings > Camera to review allowed and blocked sites. The browser also needs permission in System Settings for any site to work.
Screen Time restrictions
On family or managed Macs, Screen Time can disable the camera entirely. Open System Settings > Screen Time > Content & Privacy > App Restrictions and make sure Allow Camera is switched on. Work and school Macs may also block the camera through a management profile that only an administrator can change.
Using your iPhone as a Mac camera
Continuity Camera lets you use an iPhone as a high-quality wireless webcam. It needs macOS Ventura or later, an iPhone XR or newer on iOS 16 or later, the same Apple ID on both devices, and Wi-Fi and Bluetooth turned on. Mount the iPhone near the top of your screen with the rear cameras facing you. In FaceTime, choose it from the Video menu; in Zoom, Teams or a browser, select the iPhone from the camera dropdown. You can then run the online test with the iPhone selected to check its resolution and frame rate.
Mac camera not working? Quick fixes
Black screen or "No camera available"
Check that nothing covers the lens and that the room has enough light. Then confirm the app has permission in Privacy & Security > Camera. If the green light turns on but the picture stays black in every app, a restart usually clears it.
Close other apps using the camera
Some apps hold on to the camera. Quit Zoom, Teams, Photo Booth, browser tabs with meetings and streaming software fully with Command + Q, then try again. The menu bar camera icon shows which app is still using it.
Restart your Mac and update macOS
A restart resets the camera service and fixes most temporary faults. If the problem returns, open System Settings > General > Software Update and install the latest version, because camera fixes are often delivered through macOS updates.
Check an external webcam's cable, port and hub
Plug the webcam directly into the Mac rather than through a hub or monitor, try another port and use a different cable if you have one. Some USB-C adapters do not supply enough power for a webcam. For a deeper walkthrough, read our guide on fixing a camera that is not working.
Tips for a better Mac camera picture
Face a window or a soft lamp so light falls on your face, and avoid sitting with a bright window behind you. Raise the laptop so the camera is at eye level rather than looking up at you. Wipe the lens gently with a microfibre cloth, because fingerprints cause a hazy, soft image. On supported Macs, try Center Stage and Portrait mode from the Video Effects menu in Control Center. If the built-in camera still looks weak, an external webcam or your iPhone with Continuity Camera will give a sharper picture.
Frequently asked questions
How do I check if my Mac camera is working?
Open an online Mac camera test in your browser or launch Photo Booth. If you see a live picture and the green light next to the camera turns on, the camera is working. If the picture is black, check permissions and close other apps using the camera.
Where is the camera app on a Mac?
macOS has no app simply called Camera. Photo Booth is the closest equivalent and lives in the Applications folder. You can also open it by pressing Command + Space and typing Photo Booth. FaceTime and QuickTime Player can show the camera too.
Why is my Mac camera showing a black screen?
The most common causes are another app already using the camera, a blocked permission, a lens cover or very dark room, or a temporary system glitch. Quit other video apps, check System Settings > Privacy & Security > Camera, and restart the Mac if the picture stays black.
How do I know which apps can use my camera?
Open System Settings, choose Privacy & Security, then Camera. Every app that has asked for camera access appears in the list with a switch. Apps that are switched on can use the camera; apps that are switched off cannot.
Can someone use my Mac camera without the green light turning on?
On Mac computers with a built-in camera, the green indicator is wired to the camera hardware, so the camera cannot run while the light stays off. Newer macOS versions also show a camera icon in the menu bar and in Control Center when an app is using it.
How do I check my Mac camera resolution?
Run the online camera test and read the effective resolution and frame rate shown in the results. System Information shows the camera model but usually not its resolution, and Apple's specifications page for your Mac model lists the maximum, such as 720p or 1080p.
Run a Mac camera test now
Checking your camera on a Mac takes less than a minute. Look for the green light, run a quick browser test, and use Photo Booth, FaceTime or QuickTime for a second opinion. System Information tells you whether macOS sees the camera at all, and the permissions screen fixes most black-screen problems. Before your next call, run the free Mac camera test on Camera-Test.com to confirm the picture, resolution and frame rate are ready.
Continue with the right camera check
Related tests
More articles
- How to Test Your Webcam on Windows 11 (4 Easy Methods)Test your Windows 11 webcam online, in the Camera app, through Settings or with Device Manager, then check its real picture quality.
- Camera not working? How to fix itStep-by-step fixes for a webcam that won't turn on, shows a black screen or isn't detected.
- Webcam blurry? How to get a sharp, clear pictureFix a soft, grainy or out-of-focus webcam with lens, lighting, resolution and focus fixes.
- Camera not working in Zoom, Teams or Meet?Fix a webcam that shows black or goes missing only inside your meeting app.