Camera Blocked by Browser? How to Allow Camera Access in Chrome, Edge, Firefox and Safari
Camera blocked by your browser just before a call? You may have dismissed a prompt, clicked Block by mistake or opened a site with an old permission setting. To allow camera access, start with the browser's site permissions. A simple saved block often takes about a minute to fix; operating-system restrictions or a managed device can take longer. This guide covers Chrome, Edge, Firefox and Safari on computers, with extra steps for Android, iPhone and iPad.
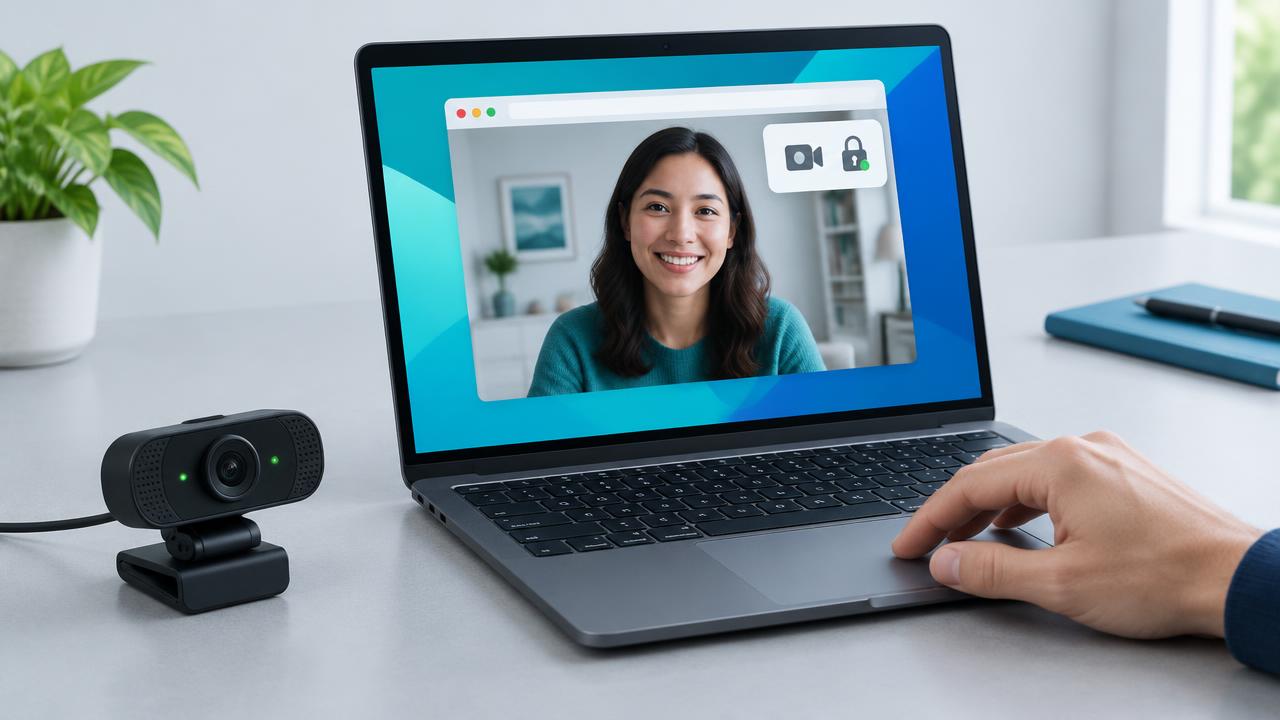
Camera permission settings at a glance
| Browser | Where to find the setting | Shortcut or quick control |
|---|---|---|
| Chrome | Site controls > Camera | chrome://settings/content/camera |
| Edge | Site permissions > Camera | edge://settings/content/camera |
| Firefox | Privacy & Security > Permissions > Camera | Permissions icon beside the address |
| Safari auf Mac | Settings > Websites > Camera | Website-specific Ask, Allow or Deny |
Why your browser blocks the camera
A camera permission is a privacy boundary, not a test of whether the webcam is good or bad. Before a website can show your video, the browser checks whether that site is allowed to request it. Clicking Block usually creates a saved denial for that website. Closing a prompt can leave the request unanswered or temporarily dismissed; it does not always mean a permanent block.
There is a second layer underneath the browser. Windows, macOS and mobile operating systems can prevent an application from using the camera even when the website is allowed. Think of these as two separate doors: the browser admits the website, and the operating system admits the browser. Both must be open for a live picture to appear.
Other failures look similar but need different fixes. An ordinary public camera-testing page needs HTTPS. A website embedded inside another page can be restricted by the parent page's permissions policy. Another video app may be holding the device, a privacy extension may interfere, or a work or school administrator may have disabled camera access. Change the permission first, then investigate the remaining cause rather than repeatedly pressing Allow.
How to tell the camera is blocked, not broken
Look near the address bar for a camera icon, crossed-out device symbol or saved permission notice. The exact symbol varies by browser and version, and it may appear only after a camera request. Open the website's permission panel to see the actual choice instead of relying on the icon alone.
- Permission denied or camera permission denied usually points to a denied request, but the denial may come from the browser, operating system or device policy.
- NotAllowedError can mean denied permission, a security restriction or an embedded-page policy; it does not prove you clicked Block.
- Camera not found or NotFoundError usually means no suitable device was detected, rather than a saved permission block.
- NotReadableError often points to a device, driver or camera-in-use problem after permission has been granted.
Try the computer's built-in camera app as a comparison, then close it before retesting in the browser. If that app works, the hardware is probably functioning. If no app sees the camera, inspect the physical privacy shutter, cable and system settings before troubleshooting website permissions.
How to allow camera access in Google Chrome
For one blocked website, changing its own permission is faster and safer than resetting every site in Chrome. Stay on the page that reported the problem so you edit the correct domain. Current versions commonly use a tune-style site-controls icon to the left of the address; older versions may show a padlock.
- Click the site-controls icon beside the website address.
- Find Camera and turn it on or choose Allow. If Camera is not visible, open Site settings and change the Camera permission there.
- Reload the page after changing the setting.
- Click the website's camera start button again, and accept a fresh prompt if Chrome shows one.
To review saved decisions, open Chrome Settings > Privacy and security > Site settings > Camera. You can also type chrome://settings/content/camera into Chrome's address bar. Keep the default set to Sites can ask to use your camera. Find the affected domain under sites not allowed to use the camera, and remove its saved block or open its settings and reset Camera. Return to the website and request access again.
Check the camera selected at the top of this settings page if you have a laptop webcam, a USB webcam and a virtual camera installed. Choosing a disconnected or inactive virtual camera can produce a blank preview even though permission is allowed. The website's own camera selector may offer another choice once access is granted.
Allow camera access in Chrome on Android
Tap Chrome's three-dot menu > Settings > Site settings > Camera. Allow sites to ask for camera access, then review the affected site's saved permission. You can also open that website's individual site settings to reset it. If Android blocks Chrome itself, open your phone's Settings > Apps > Chrome > Permissions > Camera and allow access while using the app. Names vary by phone manufacturer; reload Chrome's page after making the change.
How to allow camera access in Microsoft Edge
Edge has the same two-layer permission pattern: a website decision inside Edge and an application decision in your operating system. A camera can work in the Windows Camera app while remaining blocked for an Edge website. Start with the site's saved setting before assuming the device needs a driver update.
- Open the blocked website and click the site-information icon to the left of the address.
- Open Permissions for this site if shown, then set Camera to Allow.
- Reload the website and start its camera test again.
- If it remains blocked, open Edge Settings and search for Camera to review the website permission list.
Many Edge versions place Camera under Settings > Cookies and site permissions. Newer layouts may organize site permissions differently, so searching Settings for Camera is a dependable fallback. You can also enter edge://settings/content/camera in the address bar. Make sure asking for access is enabled, remove the website's saved block, and select the correct default device if that control appears.
On Windows 11, confirm Camera access and Let desktop apps access your camera are enabled in system privacy settings. Edge normally counts as a desktop application, not an individually switchable Microsoft Store app. If settings say they are managed by your organization, a local website permission cannot override that policy. Ask your administrator for access to the approved calling or testing website.
How to allow camera access in Mozilla Firefox
Firefox often displays a permissions icon beside the address after a website asks to use the camera. A previous block may be remembered permanently or only for the current session. Clear the relevant decision and let the site make a new request rather than searching for a Chrome-style Camera toggle that may not exist in Firefox's panel.
- Open the website and click the permissions icon beside the address bar.
- Find the blocked camera entry and click its removal or reset control, often a small X beside the saved status.
- Reload the website, then press its camera start button.
- Select the correct camera in Firefox's prompt and choose Allow. Use Remember this decision if offered and appropriate for a trusted website.
For the full list, open Settings > Privacy & Security, scroll to Permissions, then choose Settings beside Camera. Find the website, remove its saved decision or adjust the available status, and save your changes. Also inspect Block new requests asking to access your camera. When enabled, it can stop a new website from prompting even if you have never visited that site before.
Being asked again is not necessarily a fault. Firefox's saved choice depends on whether you remembered the decision, whether the window is private, and how the site's request is handled. You can leave a site on an ask-each-time basis if you prefer tighter control. If access is allowed but Firefox still fails, check the browser's operating-system permission and try without camera-related extensions before changing unrelated privacy settings.
How to allow camera access in Safari on Mac, iPhone and iPad
Safari manages website camera permissions separately from the controls for ordinary installed apps. The Mac and mobile menus differ, so use the steps for the device you are holding. Avoid changing the default to Allow for every unknown website just to fix one meeting or camera test.
Enable the camera in Safari on Mac
On a Mac, open the affected website first. Then choose Safari > Settings > Websites > Camera. Older Safari versions call Settings Preferences. Find the domain under currently open or configured websites and change its choice from Deny to Ask or Allow. Ask prompts when the site requests access; Allow saves permission for that site. Reload the page and start the test again.
Review When visiting other websites at the bottom of the Camera panel. Ask is a useful default because it lets you decide separately for unfamiliar sites. Removing an old configured entry can also return that website to the default behavior. If the permission is already correct, fully quit other camera apps and retry before making broader system changes.
- On recent iPhone or iPad software, open Settings > Apps > Safari > Camera. On older versions, open Settings > Safari > Camera.
- Choose Ask for a cautious default, or review the available website-specific controls rather than broadly allowing every site.
- Return to Safari, open the affected website's page menu and look for Website Settings or camera permissions if your version offers them.
- Reset the site's denial or choose Allow, reload the page and start its camera feature again.
Apple changes the page-menu symbols and placement between releases, so search Settings for Safari if the route is different. Screen Time restrictions can also disable the camera. For other browsers on iPhone or iPad, inspect that browser app's own camera permission in system settings as well.
On Mac, System Settings > Privacy & Security > Camera lists applications that have requested access. Allow Chrome, Edge or Firefox there when listed. Safari's built-in website permissions are especially important: Safari may not appear as a normal switchable entry on every macOS version, so a missing Safari row alone is not evidence that it is blocked. Check the website controls and any Screen Time or management restrictions instead.
Check your operating system camera settings
If a browser says Allow but the preview still never starts, check the operating system next. Website permission cannot override a system-wide privacy switch. You do not need to grant access to every application; enable only the browser or apps you intend to use.
Windows 11 and Windows 10
On Windows 11, open Start > Settings > Privacy & security > Camera. Turn on Camera access. Review Let apps access your camera for supported apps, and turn on Let desktop apps access your camera for conventional browsers such as Chrome, Firefox and Edge. On Windows 10 the comparable page is Settings > Privacy > Camera. These desktop browsers may not appear with individual on/off switches; the shared desktop-app control is the important one.
If a switch is unavailable or marked as managed, you may need the computer owner or IT administrator to change it. Also check a laptop's physical shutter, keyboard privacy key and manufacturer privacy utility. A closed shutter may show a dark picture without producing a permission-denied message.
macOS
Open Apple menu > System Settings > Privacy & Security > Camera. Enable your browser if it appears and needs access. Older macOS releases use System Preferences > Security & Privacy > Privacy > Camera. Quit and reopen the browser if macOS asks you to, and request access again on the website. An application can be absent until it has made its first camera request; Safari also has its separate website controls described above.
Still camera blocked? More fixes to try
Work through one change at a time and retry the same page after each step. That makes it easier to understand what fixed the problem and avoids unnecessary driver reinstalls or a complete browser reset.
- Close Zoom, Teams, OBS, the built-in Camera app and unused browser tabs with video calls. Some device and application combinations cannot share the camera reliably.
- Reload the page after permission changes. If that fails, fully quit and reopen the browser; merely opening another tab may keep the same blocked request state.
- Confirm the exact website address uses HTTPS. Open an embedded camera tool directly on its original website if the parent page might restrict access.
- Temporarily pause a relevant privacy or content-blocking extension only on a trusted site. A private window can help compare behavior, but it still needs camera permission and may retain allowed extensions.
- Update the browser, then restart it. Try another current browser to isolate a browser-specific setting without assuming the camera is broken.
- On a work or school computer, look for management notices and contact IT. Do not try to bypass organizational camera or security policies.
If the device is not detected at all, reconnect an external webcam directly to the computer, choose another USB port and check whether the operating system sees it. No amount of website permission editing can bring back a disconnected device. Our camera-not-working guide covers this hardware and detection branch in more detail.
Finally, note the wording of the actual error. A site may label several failures Camera blocked even when the underlying browser reports something more specific. Camera permission denied suggests an access issue; a device-not-found or unreadable-device error sends you down a different troubleshooting path. Keep that distinction when asking for support.
Test that your camera works after allowing access
Once the permission changes are saved, run a fresh camera request rather than expecting an old failed preview to recover automatically. On Camera-Test.com, start the Camera Test, allow the browser prompt if it appears and choose the webcam you intend to use. A working result shows a live image that responds when you move, together with the resolution and frame-rate information the browser actually delivers.
Give exposure and frame measurements a few seconds to settle. A dark or blurry image is a picture-quality issue, not automatically a permission issue. If you have several cameras, select each one deliberately so you do not mistake an inactive virtual camera for a broken laptop webcam. Close the test before joining a meeting if your device has trouble sharing the camera.
Use the Permissions Test to inspect the permission status the browser makes available and request camera access directly. Some browsers expose less status information than others; an unknown or unsupported status is not the same as a definite block. The live Camera Test is the final practical confirmation that this browser and this website can start your webcam.
Is it safe to allow camera access to a website?
Allow camera access only when you trust the website and understand why it needs your video. HTTPS protects the connection, but it does not by itself prove that a website is trustworthy. A meeting service may transmit video to other participants; an identity-checking website may upload a recording. Their privacy practices are different from a local preview tool.
The Camera-Test.com webcam test processes the live preview and camera measurements locally in your browser; it does not upload your camera video. That statement describes the camera test, not a claim that the entire website makes no network requests. Close or stop the test when finished and watch for your browser's active-camera indicator and the webcam's light if it has one.
To revoke access, return to the website's permissions panel and reset Camera to Ask or Block. Review the full camera permission list occasionally and remove sites you no longer use. Saved Allow permission can let a trusted site request the camera again without a new prompt, so an indicator of current use matters more than whether you saw a fresh permission dialog.
Frequently asked questions about blocked browser cameras
How do I unblock my camera in my browser?
Open the affected website, click its site-information or permissions icon beside the address, and change Camera to Allow or clear the saved block. Reload the page and start the camera again. In Safari on Mac, use Settings > Websites > Camera. If access still fails, check your operating system's camera permissions.
Why does the camera permission prompt not appear?
A browser may remember a previous denial, so it does not ask again. The site may not have requested access yet, or an operating-system rule, insecure connection or embedded-page restriction may prevent the request. Reset that site's permission, reload, and click its camera start button on the original HTTPS website.
How do I reset camera permissions for all sites?
Open your browser's camera permission settings and review the saved website entries. Remove or reset the entries you want to change, keeping the default set to Ask. Some browsers offer a broader site-permission reset, but this also affects other permissions. Clearing every cookie or password is not normally necessary to unblock one camera.
Why does my camera work in one browser but not another?
Each browser stores its own website permissions, device selection and extension settings. Your operating system can also allow one browser and block another. If the camera works elsewhere, compare those settings before changing drivers or replacing the webcam. A private window may help isolate saved settings, but still needs permission.
Why does it say Camera is blocked even after I allow it?
The page may need to reload, your browser may need to restart, or the operating system may still deny access. A work or school policy can override your choice. Also check that you allowed the exact domain in the address bar; an embedded tool or another subdomain may have different permissions.
Can websites access my camera without asking?
Ordinary websites need browser permission to use your camera. If you previously saved an Allow choice, the browser can reuse it without showing a fresh prompt, so you may not be asked on every visit. Camera indicators should show when it is active. Review saved permissions and remove access from websites you no longer trust.
Allow camera access, then confirm the live picture
Most browser camera blocks come down to a saved website choice, an operating-system restriction or the wrong device. Reset the site's permission, reload and make a fresh camera request. Use the Chrome, Edge, Firefox or Safari instructions above, then check system settings if access still fails. If the webcam is missing rather than denied, follow the detection checks instead. Finish with a live Camera Test so you know the picture actually works before your next call.
Continue with the right camera fix
Official permission guides
Browser menus change between releases. These official guides provide additional details for your current version.
Verwandte Tests
Weitere Artikel
- Kamera funktioniert nicht? So beheben Sie das ProblemSchritt-für-Schritt-Anleitung zur Behebung einer Webcam, die sich nicht einschalten lässt, einen schwarzen Bildschirm anzeigt oder nicht erkannt wird.
- So testen Sie Ihre Webcam unter Windows 11 (4 einfache Methoden)Testen Sie Ihre Webcam unter Windows 11 online, in der Kamera-App, über die Einstellungen oder mit dem Geräte-Manager und prüfen Sie anschließend ihre tatsächliche Bildqualität.
- So prüfen Sie Ihre Kamera auf dem Mac (5 schnelle Methoden)Prüfen Sie Ihre Mac-Kamera mit einem kostenlosen Online-Test, Photo Booth, FaceTime, QuickTime oder den Systeminformationen und beheben Sie einen schwarzen Bildschirm.
- Kamera funktioniert nicht in Zoom, Teams oder Meet?Beheben Sie eine Webcam, die nur in Ihrer Meeting-App schwarz anzeigt oder verschwindet.